Setting up your refurbished bike
Congratulations on your new refurbished bike!
Before you hop on the saddle, there are just a few simple steps to get your bike ready to ride.\ Don’t worry - we will guide you through everything you need to do.
1. Position the handlebars correctly

Aligning the handlebars
First, loosen the bolt(s) that clamp the stem using the appropriate Allen key, and rotate the handlebars into the desired position.

Checking for play in the headset
Once the handlebars are correctly aligned, check whether there is any play in the headset. To do this, apply the front brake with one hand and gently rock the bike back and forth.
At the same time, place your other hand on the area where the frame meets the headset.
If you can feel any movement, the headset needs to be adjusted.

Adjusting the headset
To adjust the headset, turn the top cap bolt (located above the stem) by approximately an eighth of a turn and then repeat the headset play check from the previous step.
Continue this process until you no longer feel any movement in the headset.
The bolt should be tightened enough to eliminate any play, but still allow the handlebars to turn smoothly while riding.
Be careful not to overtighten the bolt. A good indicator is the ease of steering, it should feel smooth and responsive.

Tightening the stem clamp bolts
Once the headset is adjusted and your handlebars are properly aligned, you can tighten the stem clamp bolts.
Make sure to tighten the bolts evenly and sufficiently.
If the stem indicates a recommended torque, it is advisable to use a torque wrench to achieve the specified setting.

Handlebar Check
If you cannot find a torque specification or lack the appropriate tool, you can check whether your handlebars are securely fastened as follows:
Stand in front of the bike and clamp the front wheel between your legs. Hold the handlebars firmly at the outer edges on both sides with your hands and try to twist them.
If the handlebars move, you need to retighten the stem clamp bolts.
Be careful not to apply excessive force, as this may damage the bolts or the stem.
Handlebar stem
In rare cases, bikes are equipped with a handlebar stem. You can recognise this by the fact that the stem is inserted into the steerer tube and secured with a central bolt that runs from the top of the stem into the fork. If this applies to your bike, please follow these steps:

Loosen the central bolt on the stem about 1–2 turns (no more!). Usually, this will allow the stem to rotate straight. If it does not move easily, gently tap the bolt head with a hammer to release the stuck clamping mechanism. Once aligned, retighten the bolt securely.
Pay attention to the manufacturer’s torque specifications if provided on the stem.
2. Attach the pedals
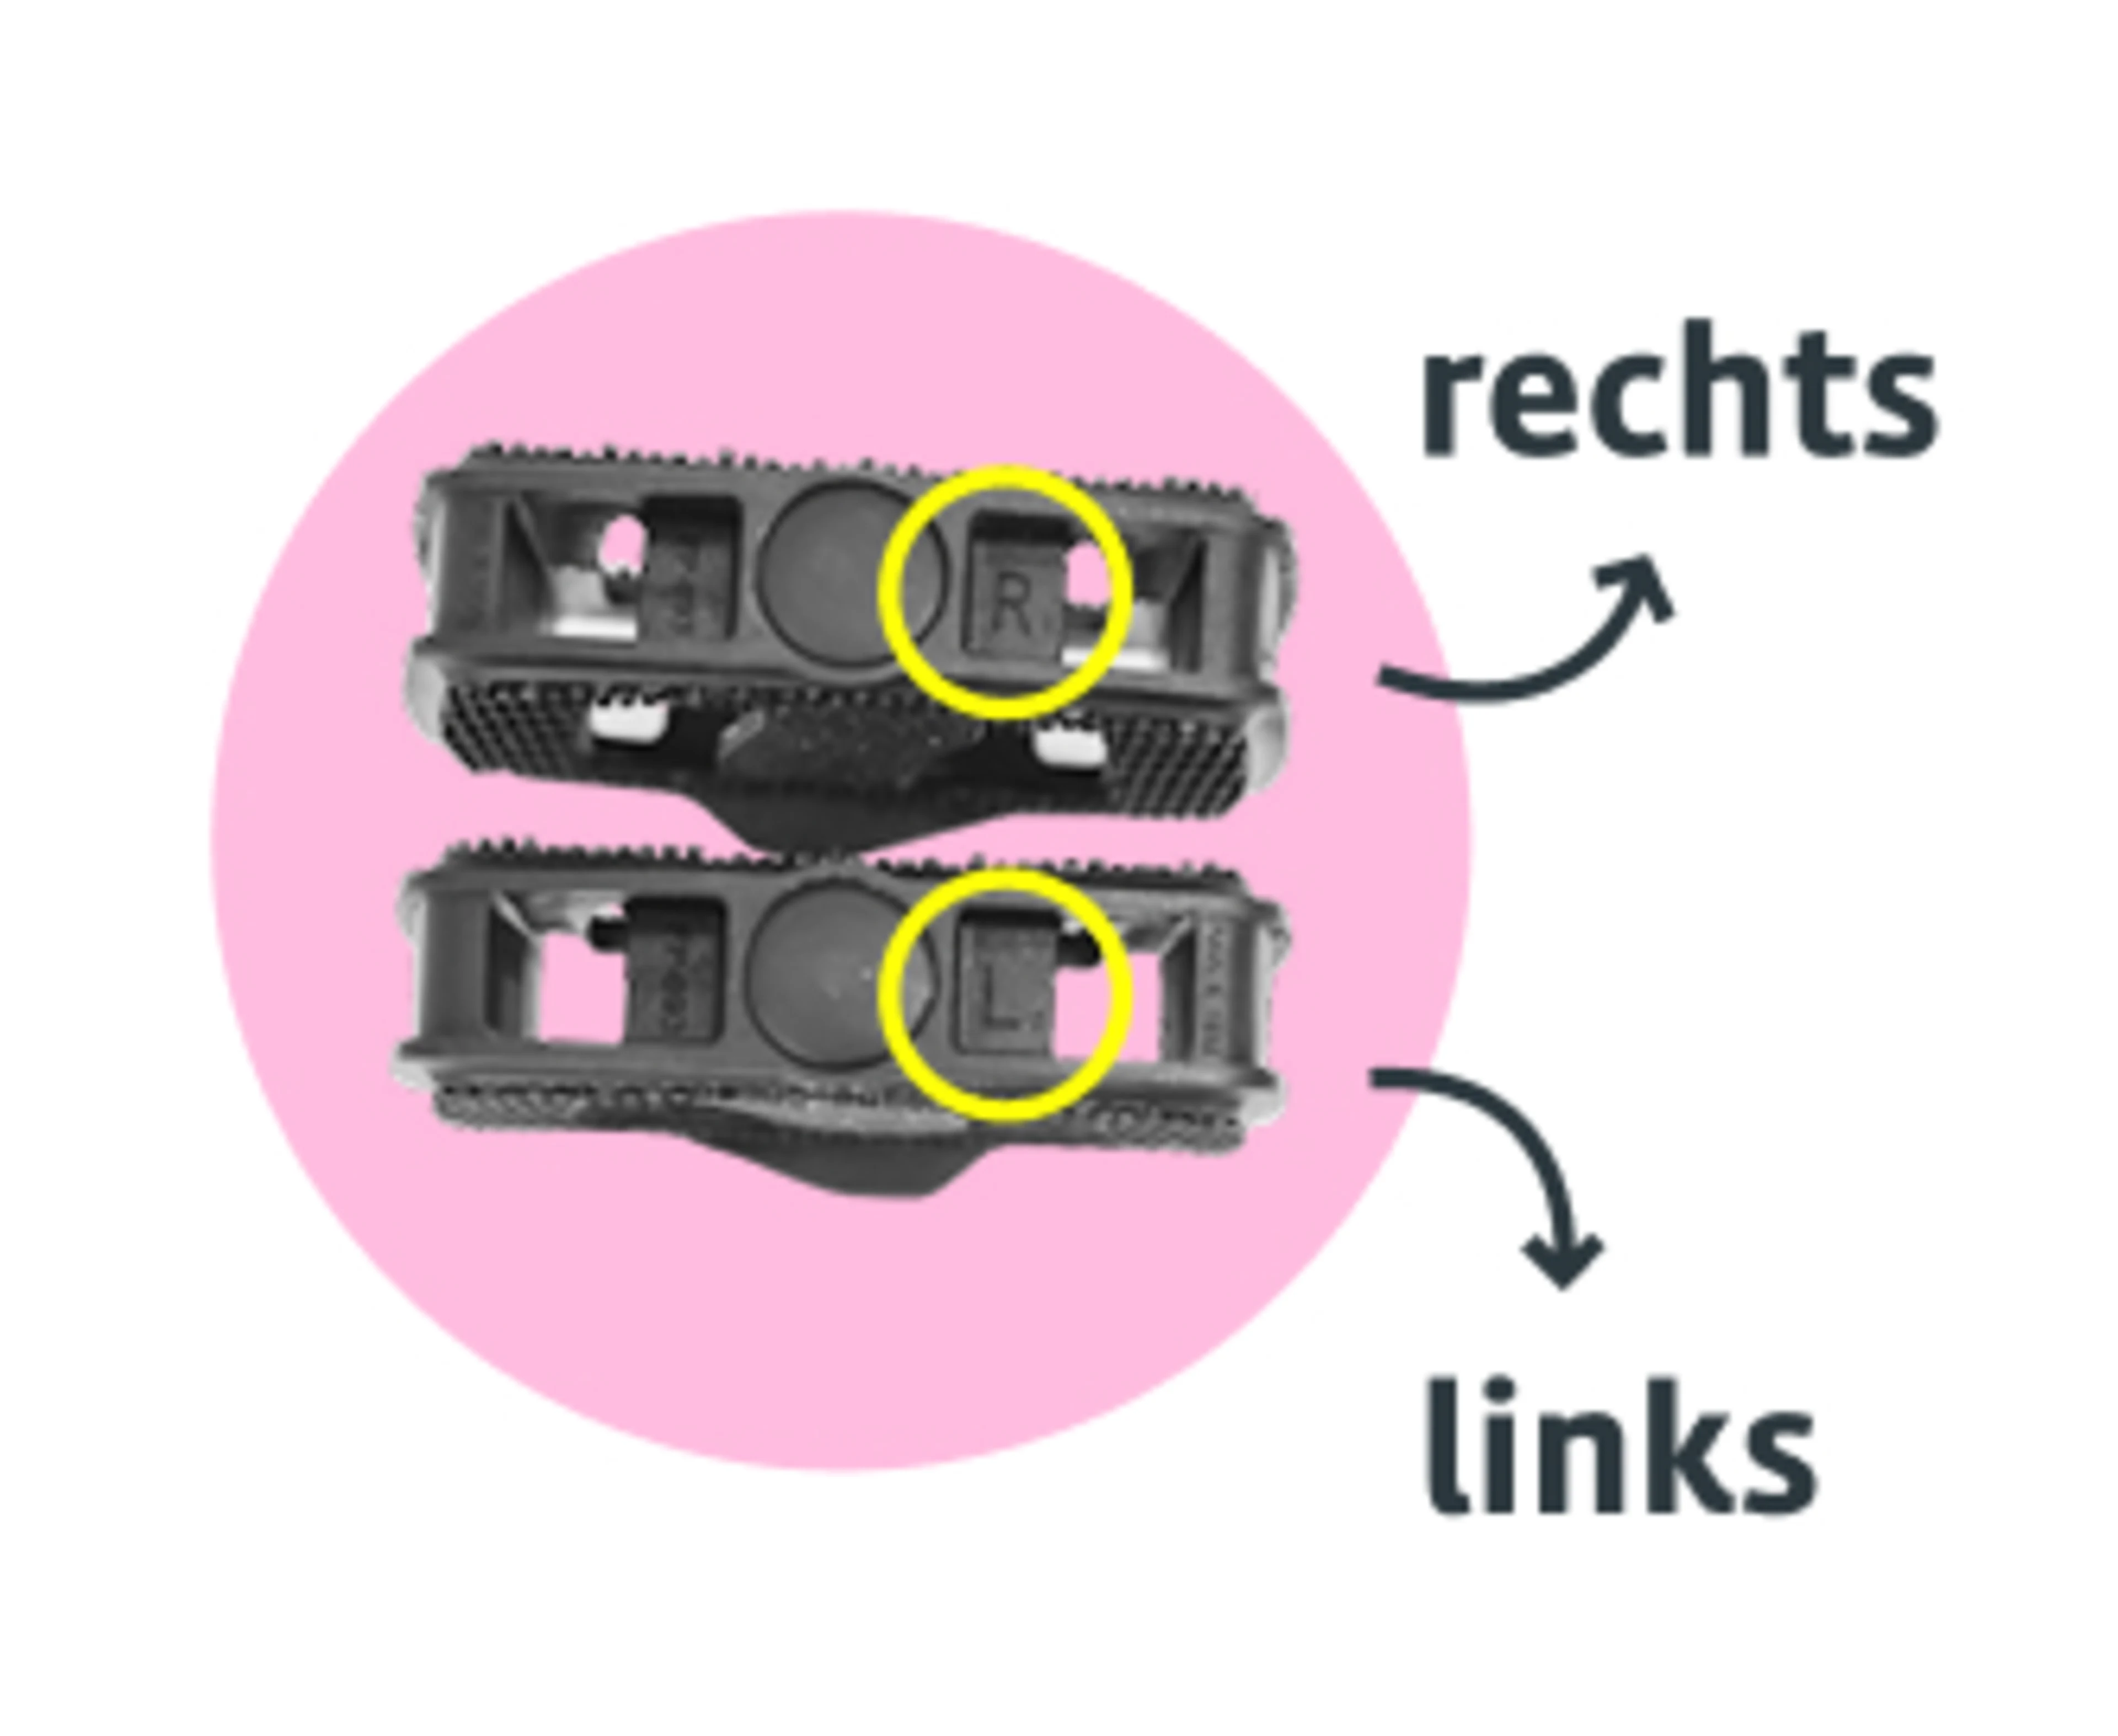
Please note that there is a left and a right pedal.
Applying a little grease (if available) to the threads helps prevent seizing and creaking noises.

Using a pedal spanner
The pedal marked “R” is screwed clockwise into the right crank arm.
The pedal marked “L” is screwed counterclockwise into the left crank arm.

Using an Allen key
For some pedals, you need to use a 6 mm or 8 mm Allen key from the rear of the pedal.
3. Adjust the saddle

Using the Quick Release
Open the quick release on the seatpost clamp and adjust the seatpost to the desired height. Once you are satisfied with the height and alignment, close the quick release again.

Without Quick Release
Loosen the clamp bolt using the appropriate tool and adjust the seatpost to the desired height. Once you are satisfied with the height and alignment, tighten the clamp bolt again.
Make sure your saddle is properly aligned and level.
To find the right saddle height, start by adjusting the saddle to roughly hip height. This is usually a good initial setting. After a few rides, you will get a better feel for your bike and can fine tune the saddle height if needed.
You did it! Your bike is ready for its first ride!
Did you know you look even better wearing a helmet? So don’t skip it - set a good example and stay safe. We wish you lots of fun on all your cycling adventures, big and small.
Still have questions?
We’re always happy to help.